Installation
This section describes the standard installation procedure for VMX 10 It is intended for system administrators and deployment engineers responsible for installing and commissioning VMX 10 in production or test environments.
1. Prerequisites
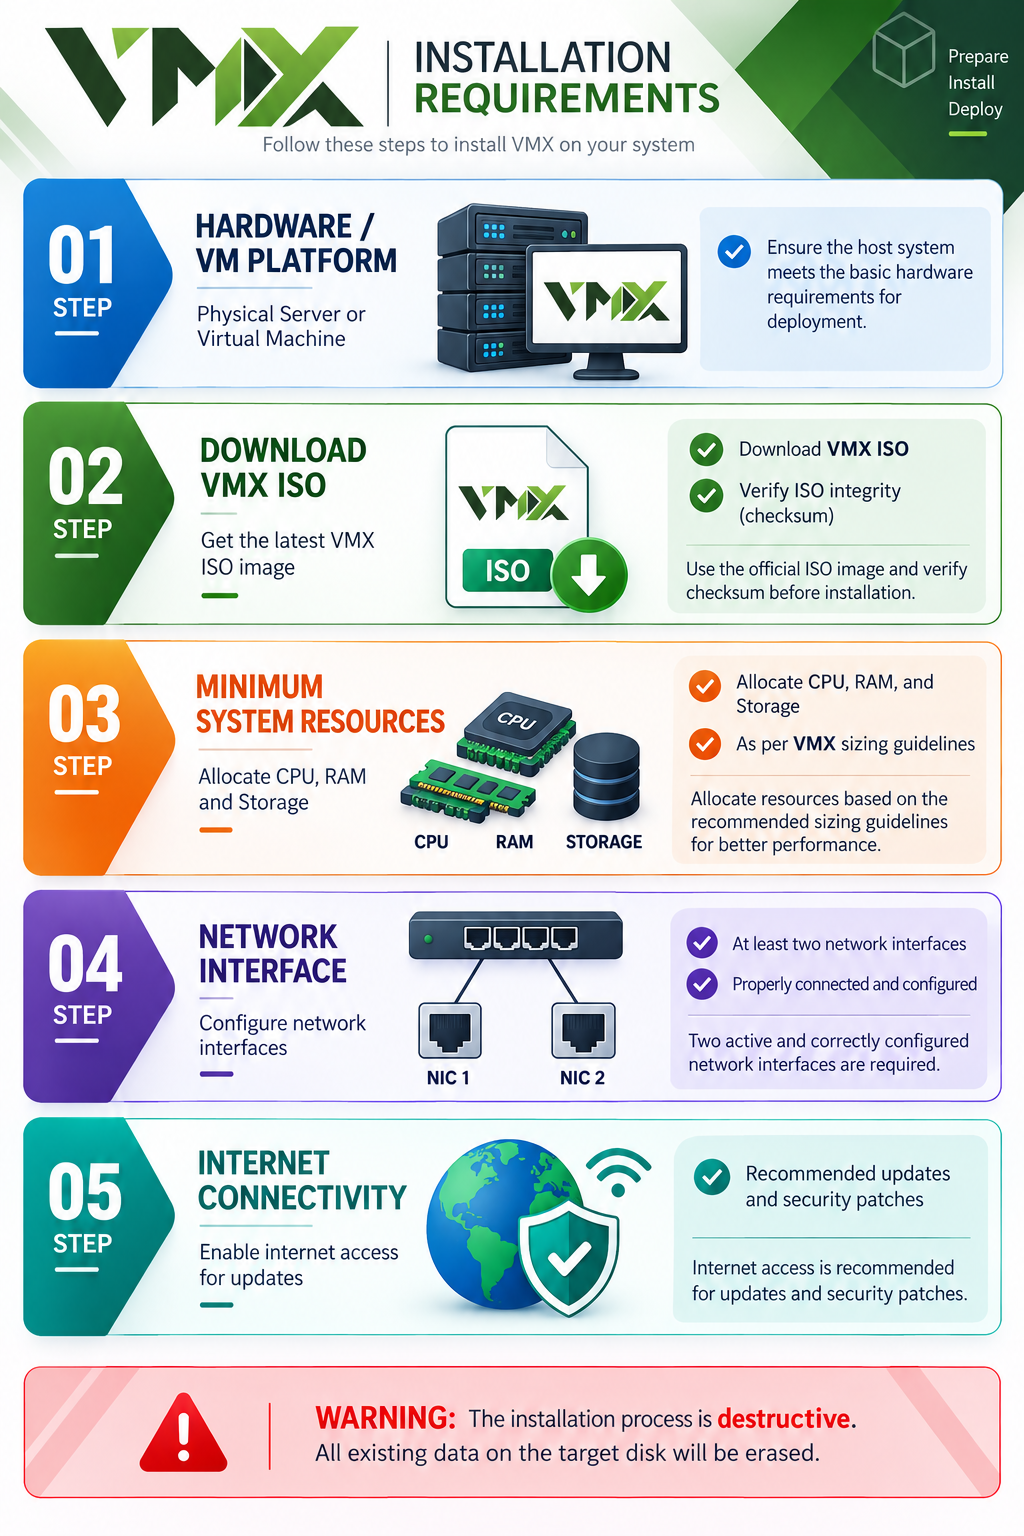
Before starting the installation, ensure the following requirements are met:
- A physical server or virtual machine (VMware / KVM supported)
- VMX V11.0 installation ISO
- Minimum hardware resources as per sizing guidelines
- At least one active network interface
- Internet connectivity (recommended for updates)
- Console access (physical console or VM console)
⚠️ Warning: The installation process is destructive. All existing data on the selected disk will be erased.
2. Booting from Installation Media
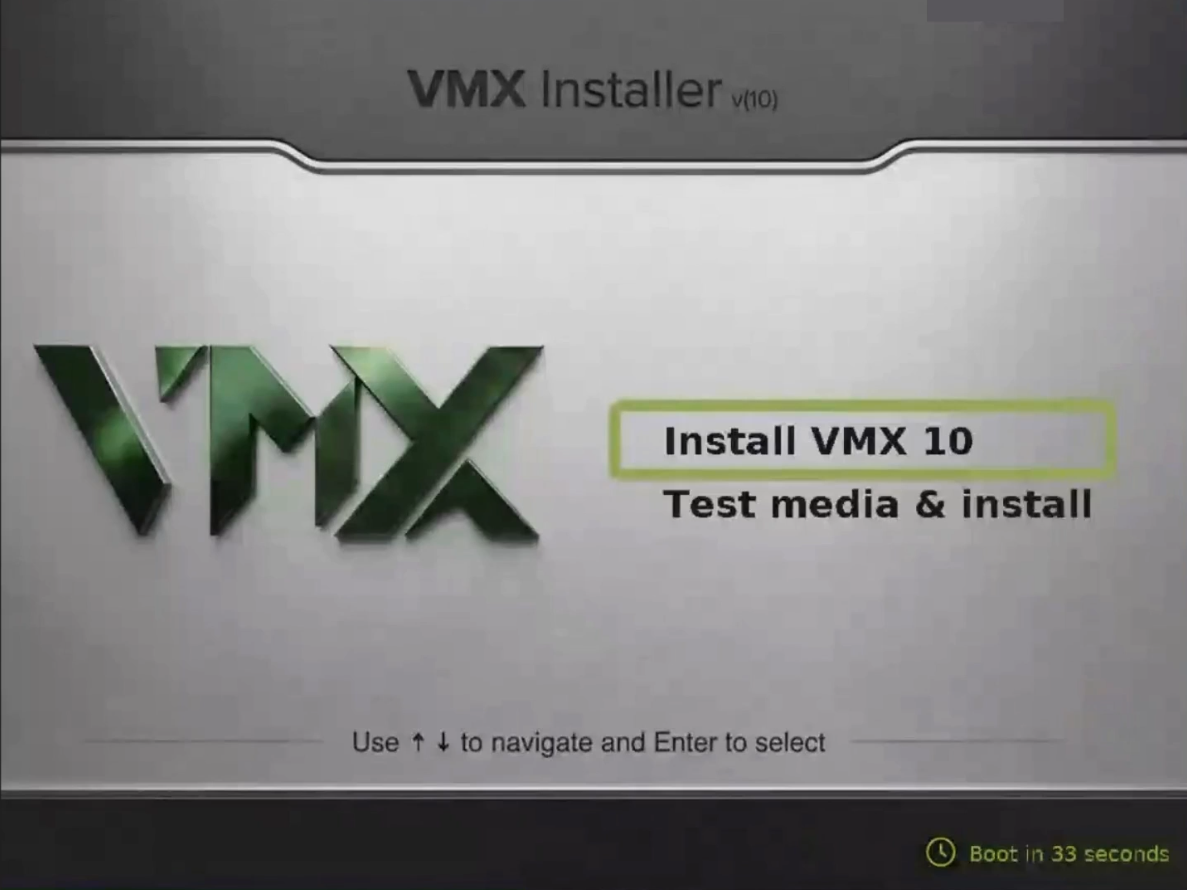
- Attach the VMX 10.0 ISO to VM. or Burn the VMX 10.0 ISO to a DVD
- Boot the system from the ISO/DVD.
- At the menu, select: Install VMX 10.0 and Press Enter.
Note: If no selection is made, the system automatically proceeds with the default option after a 60 second timeout.
3. Network Configuration
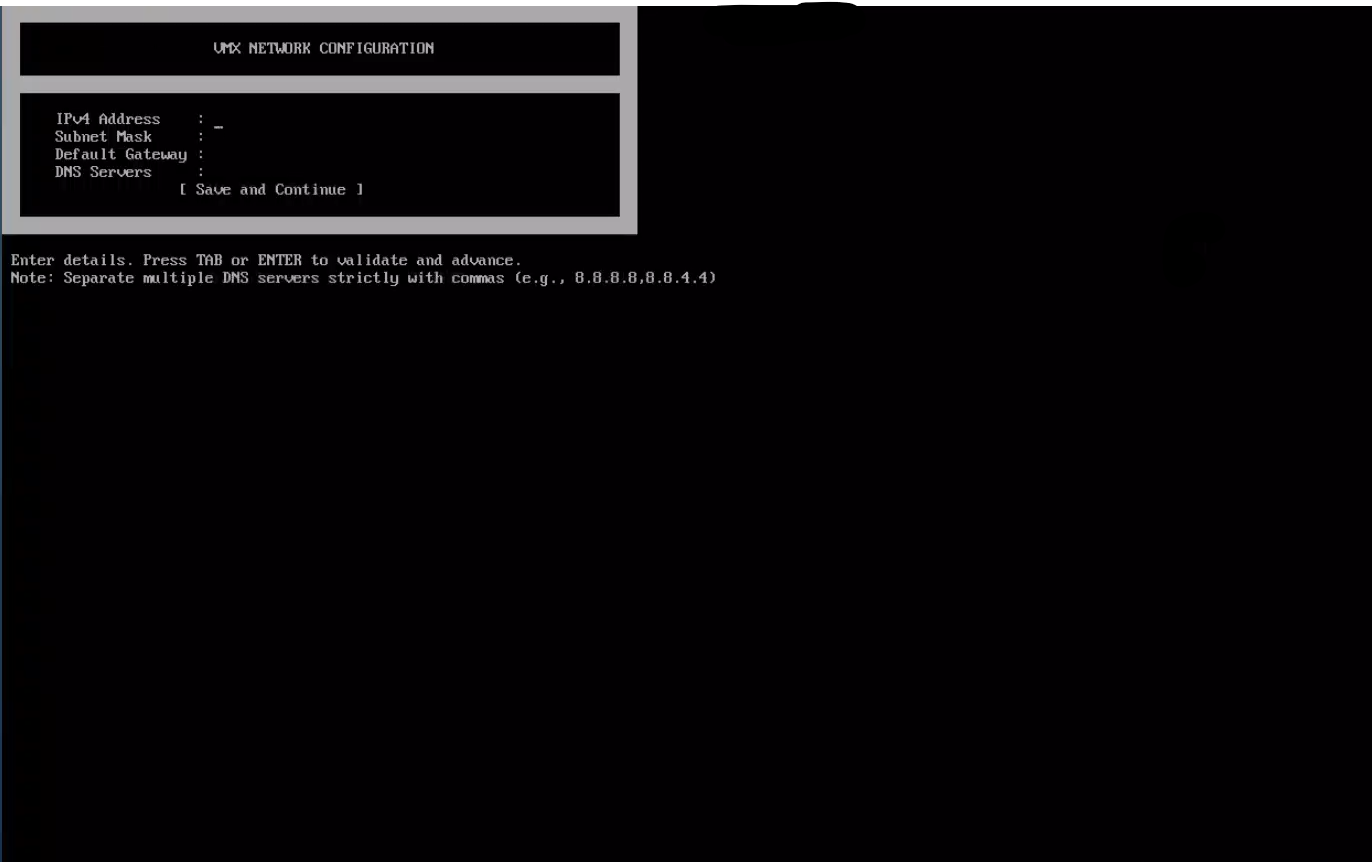
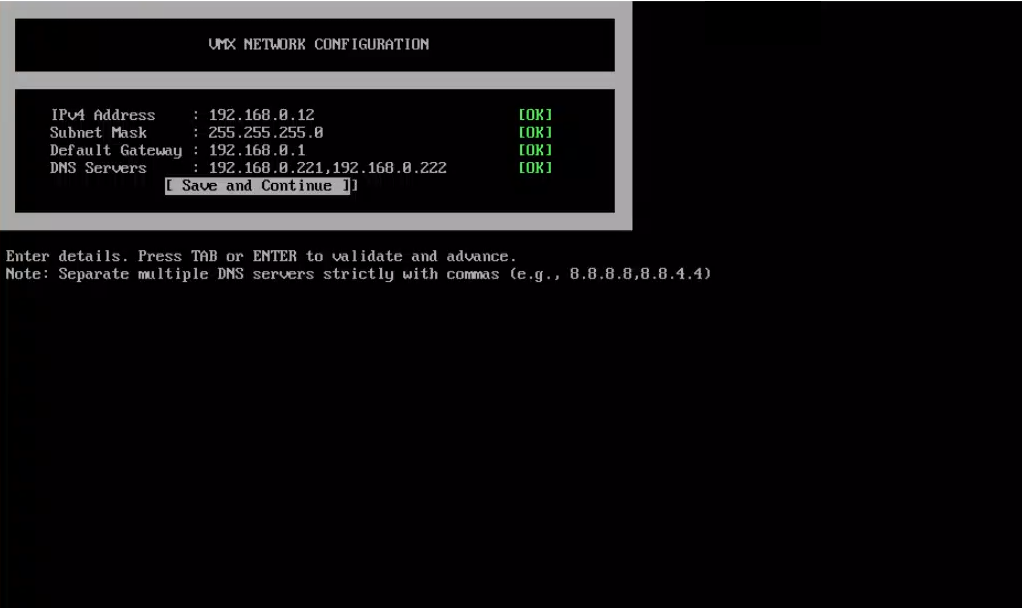
During installation, the IBSA installer prompts for IP address configuration.
5.1 Interface Selection
- The selected interface will be used for:
- Management access
- System updates
- Administrative services
5.2 IPv4 Configuration
For Manual configuration, provide:
- Subnet (CIDR) e.g. 192.168.1.0/24
- IP Address
- Default Gateway
- DNS Servers (comma separated)
Select Save to apply the configuration
4. Initializing Installation
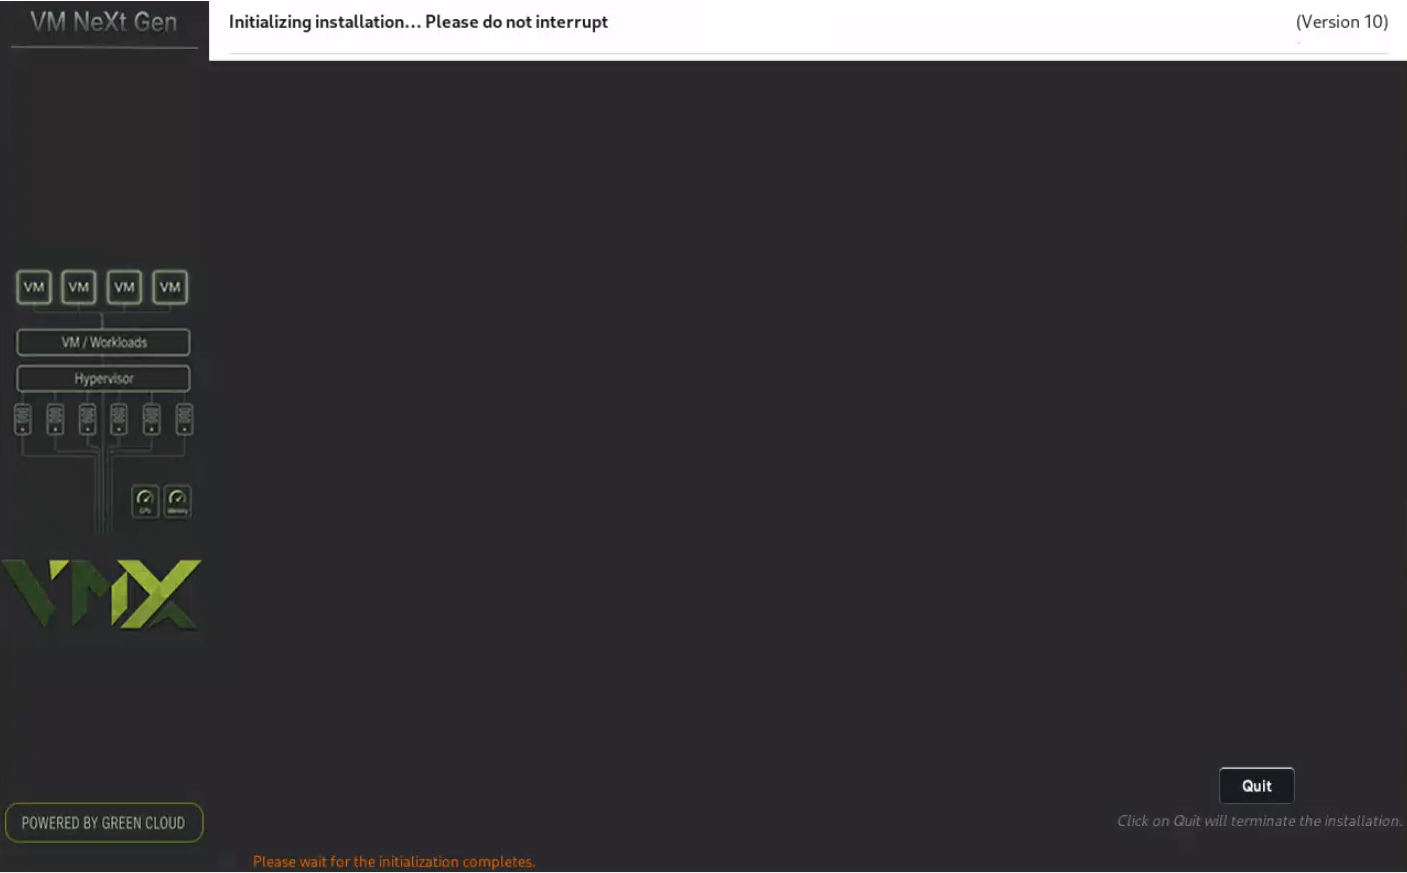
During this stage, the installer prepares the installation environment and performs the necessary initialization tasks before the operating system deployment begins.
Once this phase starts, the installer verifies the installation configuration and initializes the required services and components.
This includes:
- Validating installation settings
- Initializing installer services
- Preparing system resources
- Loading required installation components
- Verifying installation prerequisites
Please wait while the initialization process completes. Do not interrupt the installation.
7. Deploying Required Base Packages
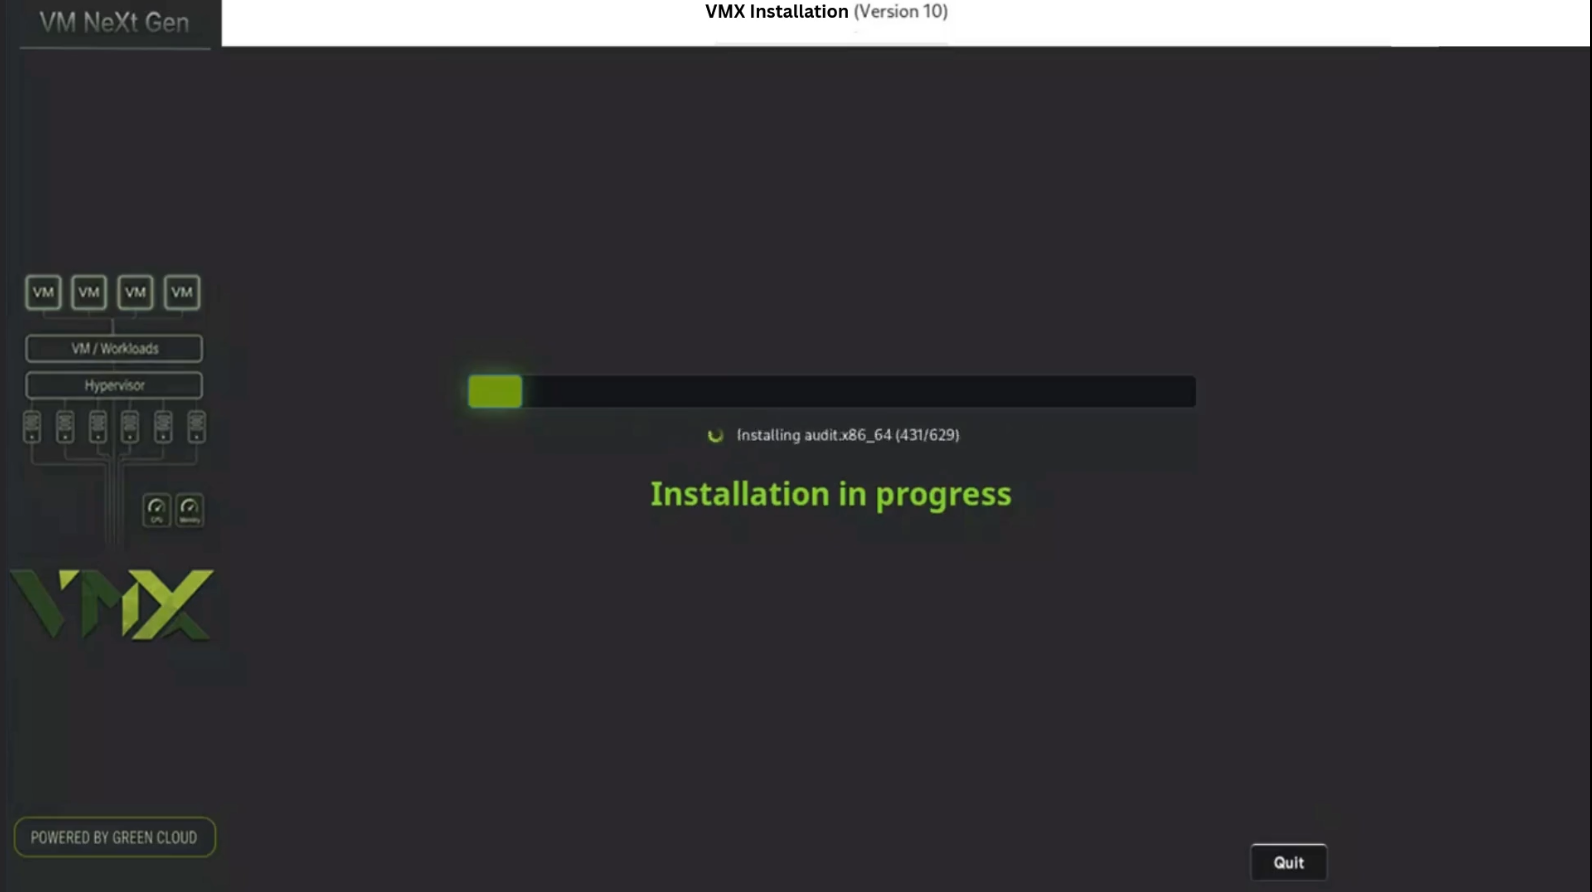
At this stage, the nBalance installer installs the base operating system and applies all required system and packages necessary for the platform to function.
This phase includes:
- Installation of core operating system components
- Deployment of required system libraries and dependencies
- Application of installer configurations
- Preparation of the runtime environment. The on screen installation log displays real time progress of package installation and configuration tasks.
All operations are performed automatically and do not require user interaction.
Important:
Do not interrupt the system while base packages are being installed. Interrupting this process may result in an incomplete installation or unstable system state.
Once all required packages are successfully installed, the installer automatically proceeds to the next installation phase.
6.Restart Prompt for the First Boot
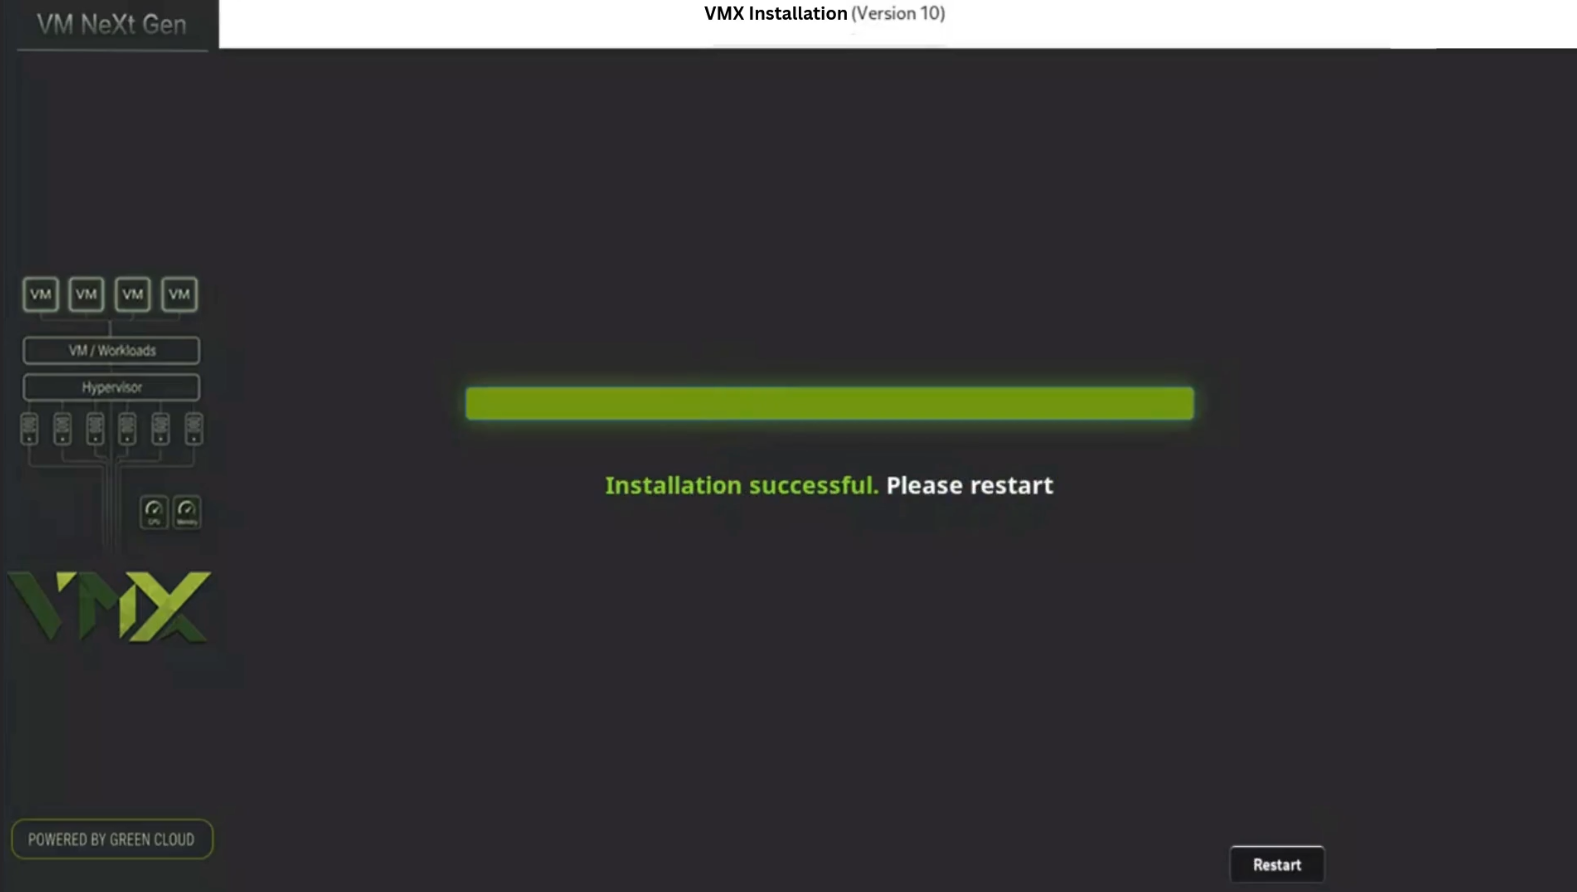
At this stage, the installer has completed the required operating system setup, package installation, and configuration tasks. The system displays a Restart now prompt to proceed with the next phase of installation.
This screen indicates that the initial installation phase has completed successfully, and a system restart is required to continue.
The on screen installation log shows the final execution of installer commands related to:
- System service configuration
- Boot and startup configuration
- Installer cleanup tasks
- Finalization of installation scripts
These log entries are displayed for informational and diagnostic purposes only and do not require user review.
To proceed:
- Select Restart now to reboot the system and continue with the installation.
Note:
The presence of installer log messages on this screen does not indicate an error. This is a normal part of the installation process.
After the restart, the system transitions to the Initial Configuration and Validation phase.
6. Booting VMX
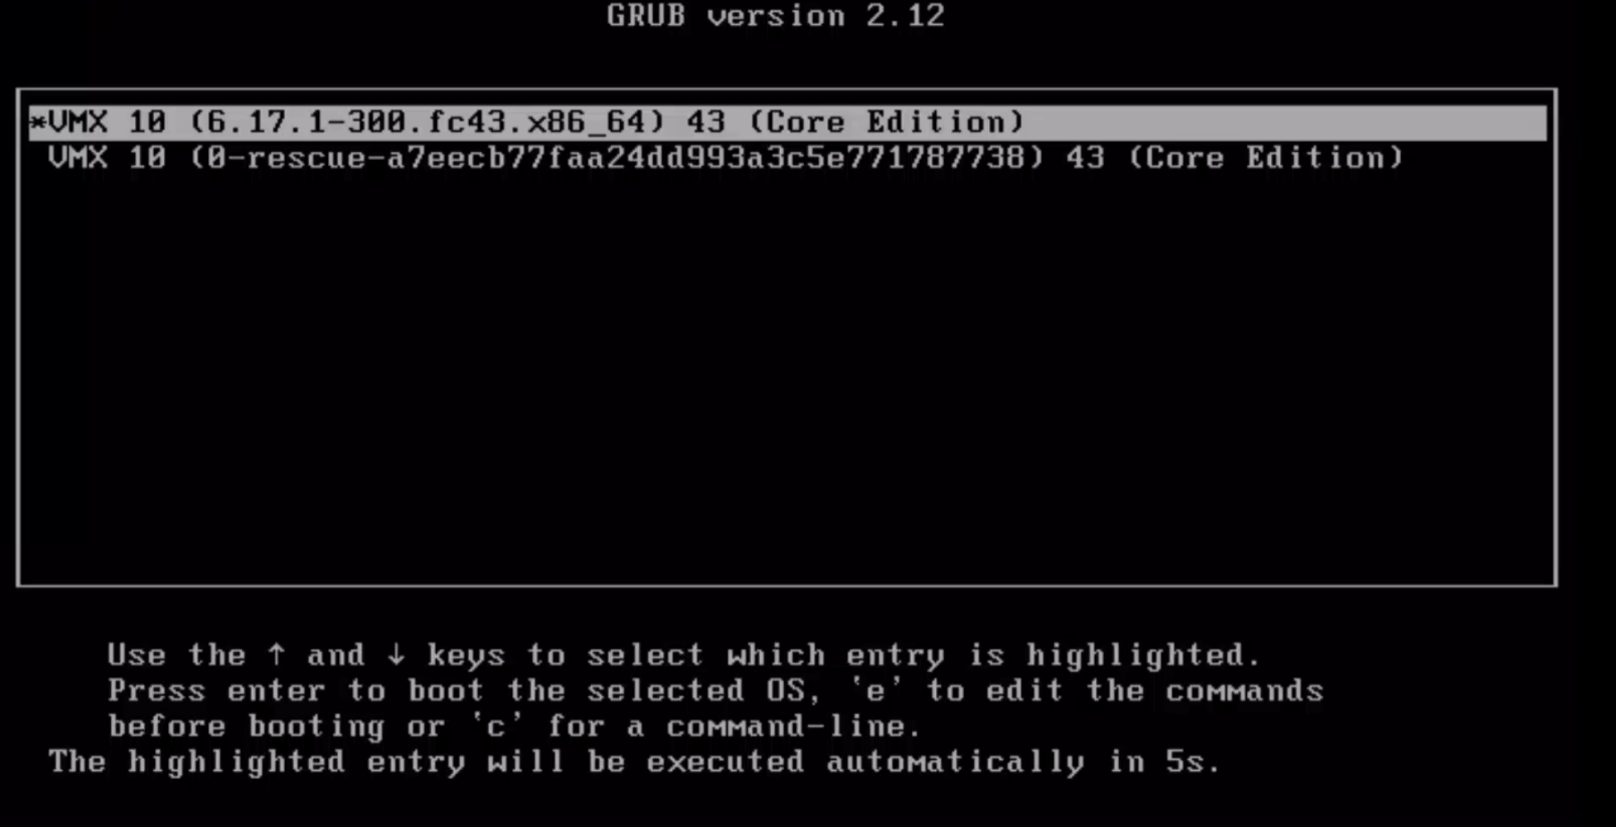
After the installation is completed, the system restarts and displays the VMX boot menu.
Description
The GRUB boot loader presents the available boot options for the installed VMX operating system. By default, the primary VMX entry is selected and will boot automatically after a short countdown.
This stage includes:
- Loading the GRUB boot menu
- Selecting the default VMX boot entry
- Initializing the Linux kernel
- Starting the VMX operating system
Final Console and System Ready
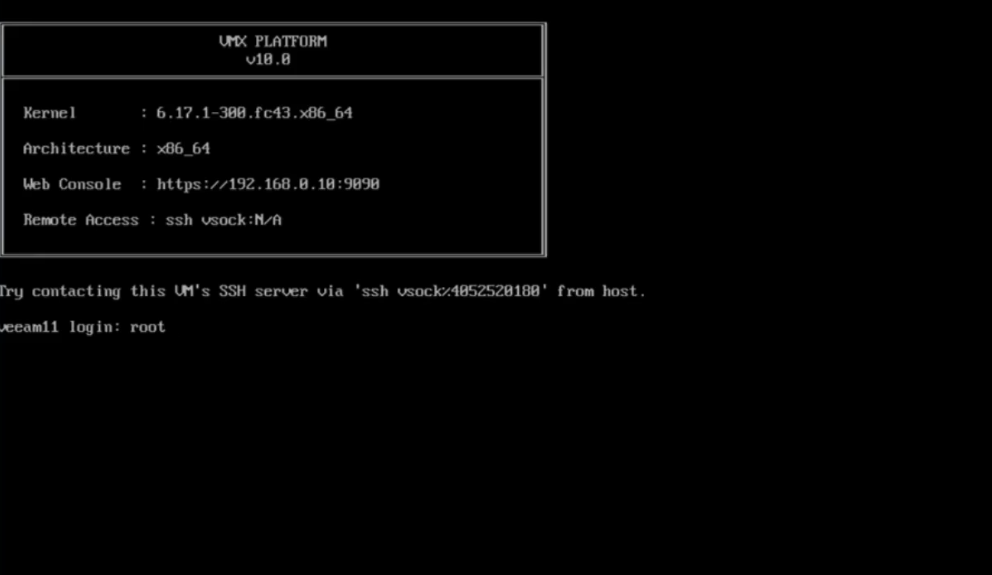
After all installation phases and service initialization steps are completed, the system displays the final console, indicating that nBalance ADC is fully installed and operational. Final Console After Successful Installation
Description
This screen confirms that the VMX installation has completed successfully and that all core services are running.
The console displays key system information, including:
- IP Address assigned to the system
- Admin URL for accessing the VMX web interface
- SSH Status (including the active port)
- LB/WAF Status, confirming that core application delivery services are active
The console output indicates that the system is stable and ready for administrative access.
8.Web Interface ready for Login.
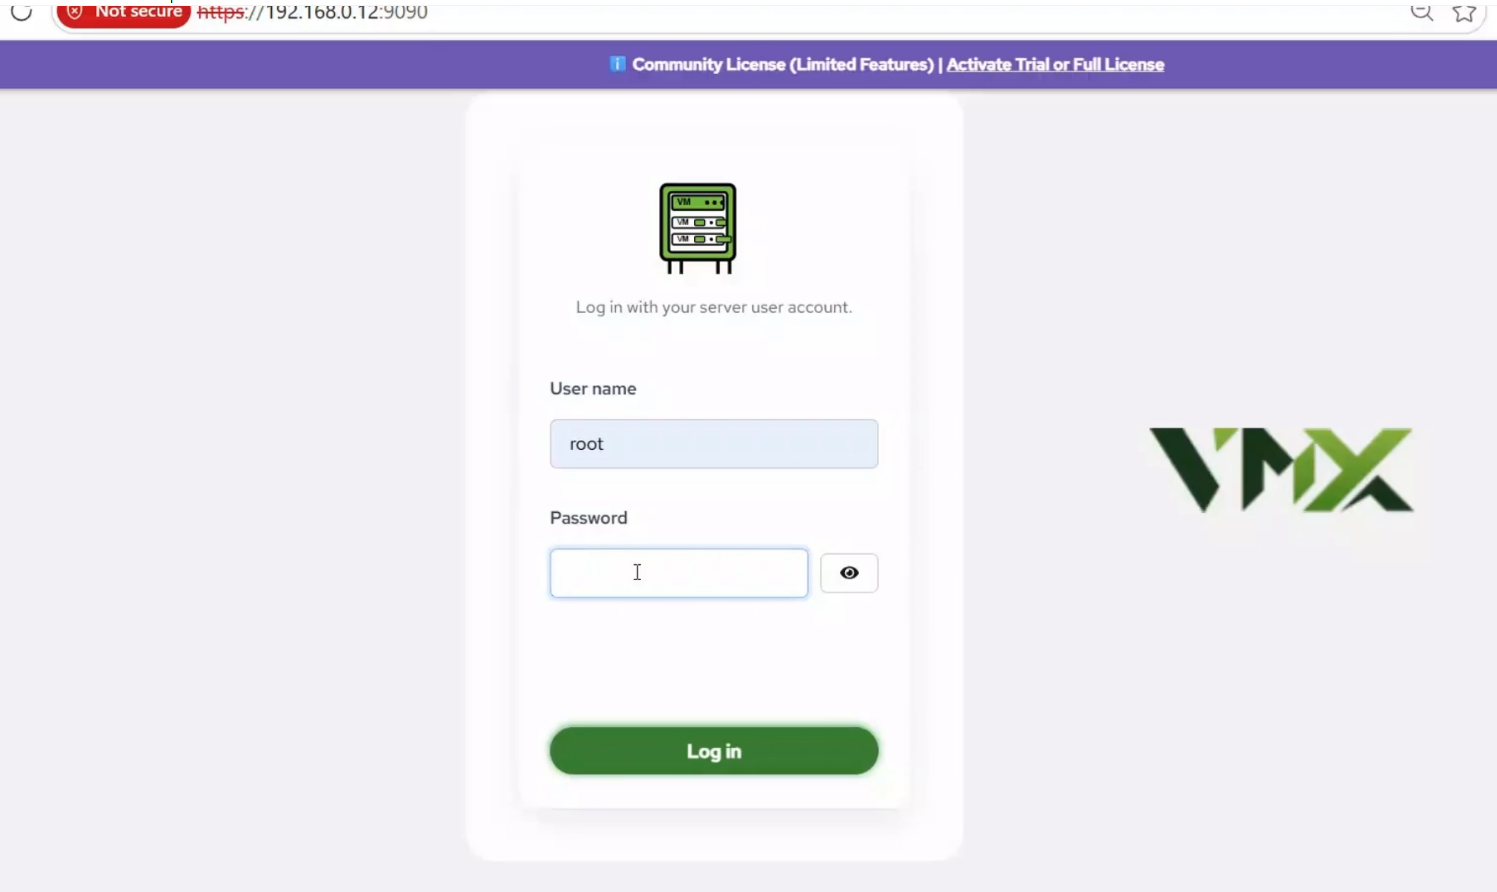
After installation and system startup are completed, the VMX web interface becomes available for administrative access.
VMX Web Login Page
Description
This screen confirms that the VMX web interface is fully initialized and ready for login.
✅ Once this login page is displayed, the installation process is complete and the system is ready for configuration.
To log in for the first time, use the default administrator credentials provided in the documentation:
🔗 Default Credentials: See Default Credentials
Security Recommendation:
For security reasons, it is strongly recommended to change the default credentials immediately after the first login.